
9 Best Materials for Ultimate Obstacle Course Construction
Building the Ultimate Obstacle Course: A Dad’s Adventure
Creating an obstacle course brings out my inner kid. It’s all about fun, safety, and a little chaos!
I’m sharing my tips on Modern Dads because nothing beats quality bonding time and a good laugh while tackling challenges together. With sturdy pressure-treated lumber for platforms and flexible PVC pipes for the tough spots, I’ve got the essentials covered.
Rubber mats save us from the dreaded “dad wipeout” and provide cushioning. And, of course, a solid rope for climbing is a must. You want the kids to swing, not bounce off the ground like superheroes!
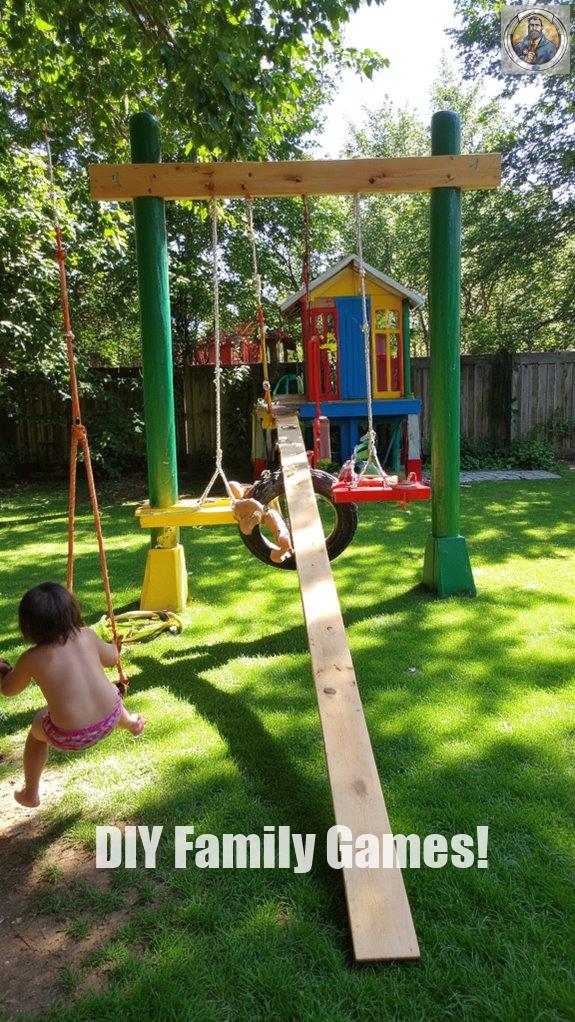
Last month, we made our own backyard obstacle course. Picture this: the kids swinging on ropes, giggling while my eldest had a “glorious” fall into the rubber mats. Instead of bickering, we all ended up in fits of laughter. Moments like these remind me that being a dad means embracing the joy in every stumble. Plus, who knew PVC pipes could provide such endless entertainment? Every week brings new challenges and memories.
Quick Takeaways
- PVC Pipes offer flexible configurations for diverse obstacle designs and easy modifications during construction.
- Rubber Mats provide non-slip surfaces, enhancing user safety and durability throughout the course.
- Concrete Blocks ensure strong structural integrity, ideal for permanent installations and stability in challenging setups.
- Wooden Pallets are versatile for climbing and jumping obstacles, contributing to creative course elements.
- Yoga Mats enhance safety by providing softer landings, reducing injury risks during challenges.
Pressure-Treated Lumber
When it comes to building an obstacle course that can withstand the wear and tear of excited kids, pressure-treated lumber is like gold.
Why? The pressure-treated lumber benefits include rot resistance and sturdiness, making this wood a superhero in your backyard kingdom.
Pressure-treated lumber is your backyard’s superhero, boasting rot resistance and durability for endless fun!
Plus, it saves you from constant repairs—trust me, your weekends will thank you!
Now, don’t forget about pressure-treated lumber maintenance; a quick wash and a wood sealer every couple of years will keep it looking spiffy.
2. PVC Pipes
If you’re looking for a flexible material that can bring your obstacle course dreams to life, PVC pipes might just be your best friend.
These handy tubes can bend, twist, and connect in ways that’ll make your course an absolute blast!
Here’s why I love ’em:
- They’re lightweight and easy to handle.
- PVC pipe joints allow for crazy configurations.
- With PVC pipe bends, you can keep things interesting!
Just envision a tunnel of twists that’d make your kids feel like superhero ninjas! Not only are they fun to use, but they also provide a great way to incorporate skill-based competitive family activities into your game night!
Grab some PVC pipes, and let’s get creative.
Your obstacle course adventures are about to get pipe-tastic!
3. Rope
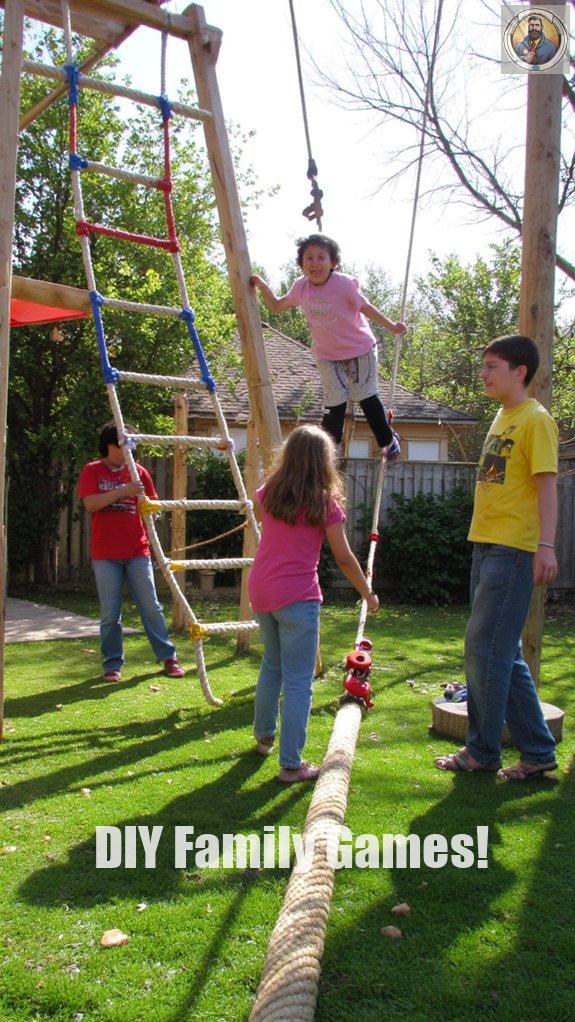
Rope is like the secret sauce to any great obstacle course—versatile, challenging, and just plain fun!
Think of it as your trusty sidekick in adventure.
Rope is your go-to companion for thrilling escapades and unforgettable memories!
You can weave rope ladders for some epic climbing action or master those rope knots that’ll make you feel like a pirate!
Ever tried balancing on a rope while your friends cheer? It’s hilarious and a bit nerve-wracking!
Don’t overlook, you can tie some knots to create unique challenges, like blindfolded races.
Just keep in mind: the messier the knot, the more awesome the stories you’ll share later! Plus, you can create obstacles that incorporate teamwork and creativity, making your course even more engaging for everyone involved.
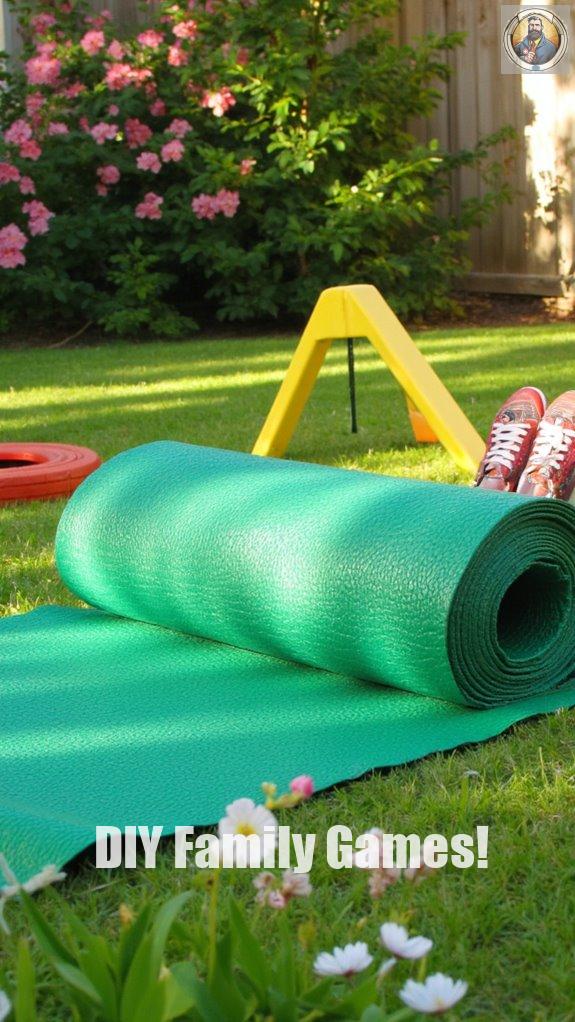
4. Rubber Mats
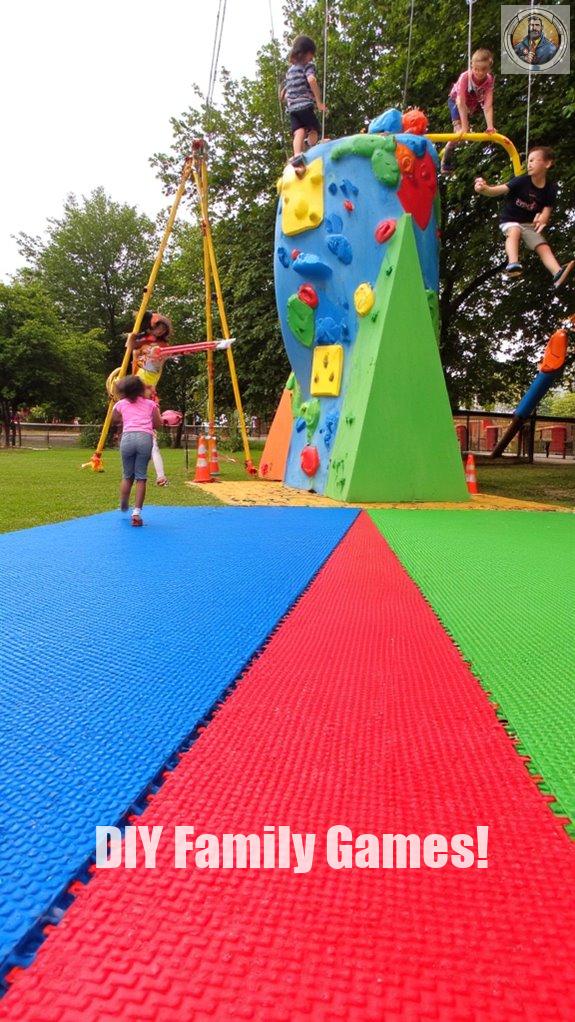
Rubber mats are like the unsung heroes of obstacle courses, supporting every daring leap and tumble with their cushy embrace.
Let’s break down the benefits of rubber that keep me using them:
- Safety: They cushion falls, so you’re less likely to kiss the ground hard.
- Durability: These mats can outlast the spillages of both sweat and snacks.
- Easy Maintenance: Just a quick swipe, and they’re good to go again!
5. Tarps
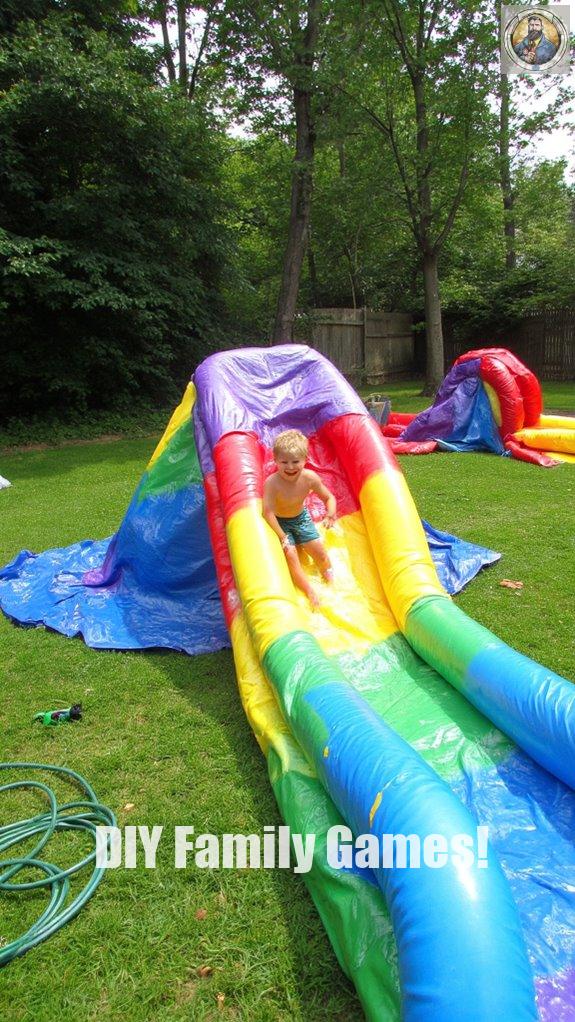
When planning an obstacle course, I can’t help but shout about the versatility of tarps!
These beauties aren’t just for picnics; they bring tarp durability and weather resistance to the game.
Tarps aren’t just for picnics; they offer unmatched durability and weather resistance for all your obstacle course adventures!
Imagine slippery slopes and muddy messes – tarps got your back!
Here’s why they’re a must-have:
- Affordable: You won’t break the bank.
- Easy to clean: A quick hose-down and you’re back in business!
- Creative options: From slides to tunnels, unleash your creativity.
So, why not drape your course in tarps that’ll last longer than your kids’ attention spans?
Think tarp, think fun!
6. Landscape Fabric
Let’s talk about terrain fabric—your secret weapon for obstacle course excellence!
Trust me, terrain fabric is a game-changer. It’s got that magical terrain durability that keeps pesky weeds at bay while you focus on your epic jumps and skids.
Here’s why you need it:
- It’s breathable, letting water through but keeping your course dry.
- Installation techniques are simple! Just lay it down like a superhero cape and let it work its magic.
- It’s budget-friendly—because who wants to spend like there’s no tomorrow?
Your obstacle course will thank you. And so will my kids, though they won’t get off easy!
7. Concrete Blocks
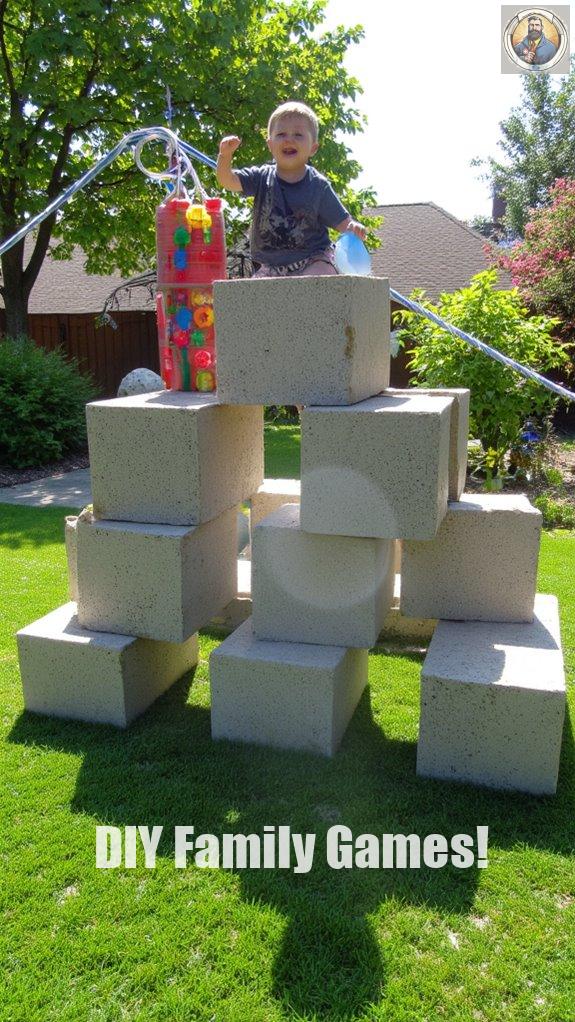
After securing your obstacle course with that reliable terrain fabric, it’s time to fortify your creations with concrete blocks.
Sure, these hefty beasts aren’t winning any ballet competitions, but concrete block durability is off the charts!
Concrete blocks may lack grace, but when it comes to toughness, they’re in a league of their own!
You won’t believe how well they stand against the chaos of kids zooming through the course.
Just keep in mind that concrete block weight is no joke—those things can double as weights for your next home workout!
So, grab a buddy (preferably one who lifts weights) and stack ’em high.
Your course won’t only look tough but will challenge even the most fearless adventurer!
8. Tires
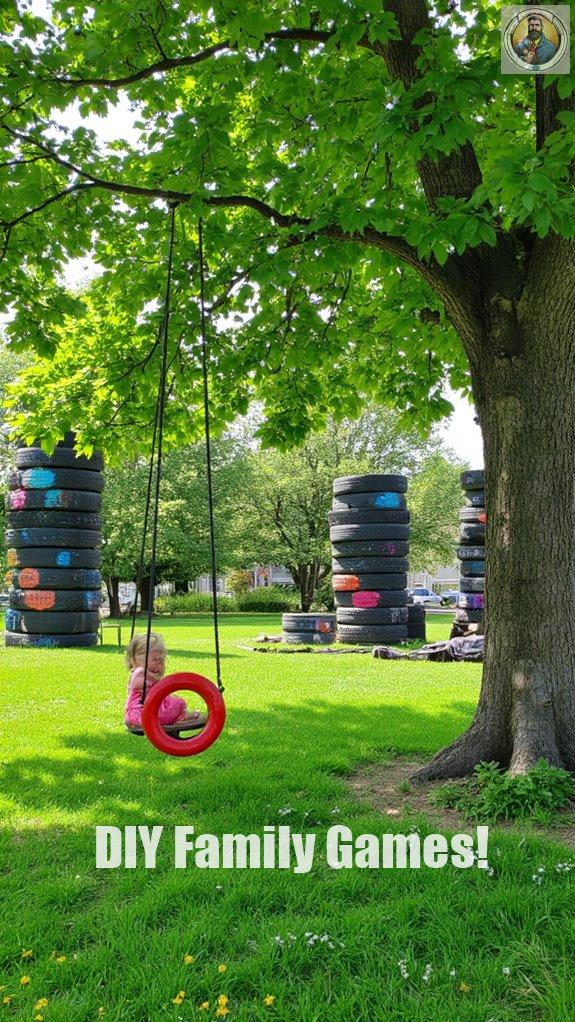
Tires can transform your obstacle course into an epic adventure playground that’ll have kids racing for the finish line!
You won’t believe the fun you can create with these rubber wonders.
Consider adding:
- Tire swings: Perfect for swinging like Tarzan, minus the jungle soundtrack.
- Tire walls: Great for practicing your ninja warrior moves (and maybe falling dramatically too).
- Tire stacks: Ideal for climbing, tumbling, and inventing new ways to trip over your shoelaces.
9. Steel Tubing
When it comes to building an obstacle course that truly stands out, the inclusion of steel tubing can take your adventure to a whole new level!
Its strength is like a superhero cape, ensuring your structures can withstand even the most enthusiastic kid tackling the course.
Plus, steel tubing is versatile—perfect for creating everything from climbing frames to balance beams.
Think of it like a Swiss Army knife for obstacle building!
Consider these perks:
- Durable and long-lasting
- Easy to customize
Physical Challenge Course Construction
Building a physical challenge course can be a thrilling adventure that not only tests strength and agility but also fosters creativity and teamwork!
To create an awesome course, keep these things in mind:
- Safety considerations: Always prioritize safety; no one wants a face-plant moment caught on video!
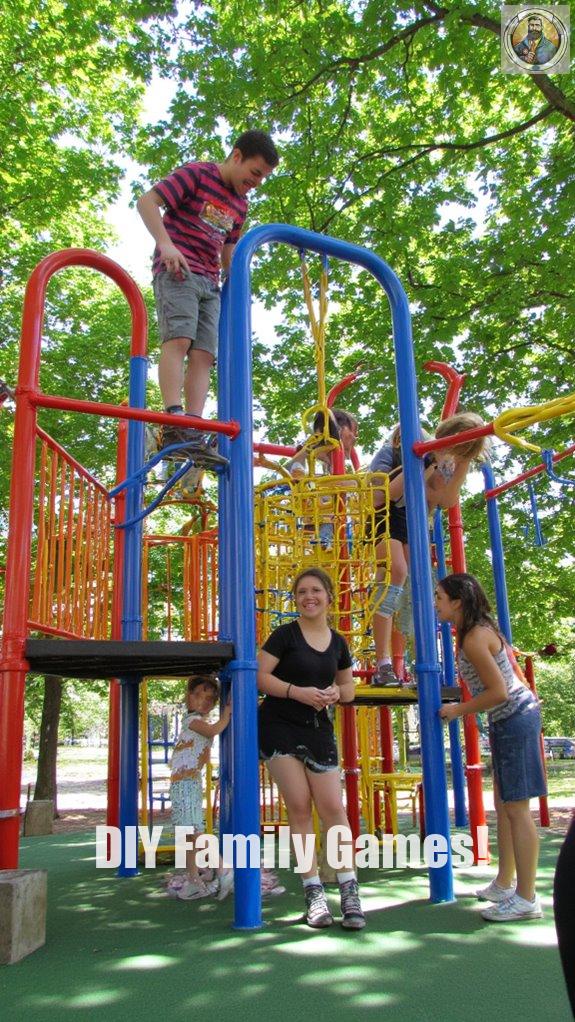
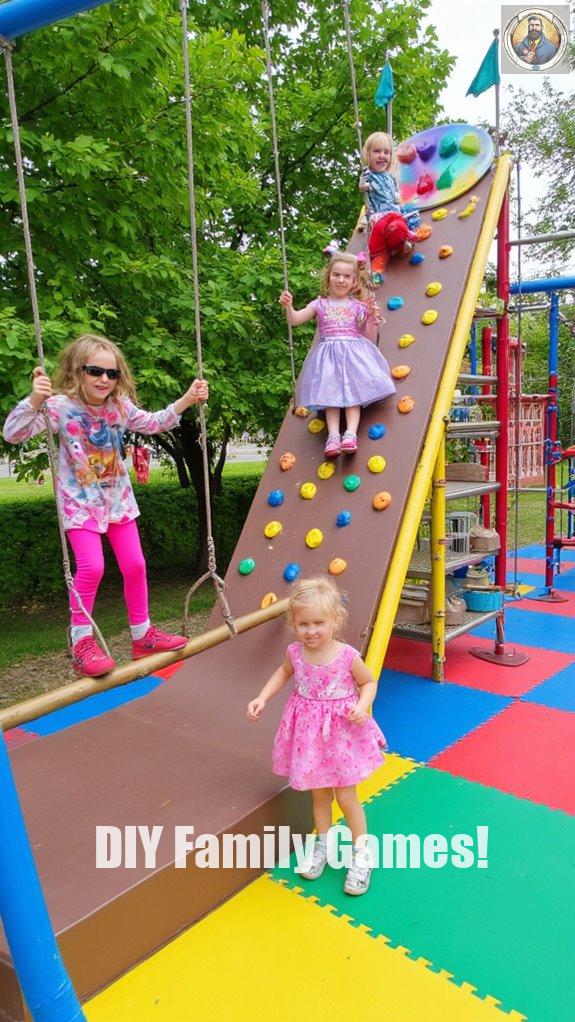
- Design elements: Mix obstacles like climbing walls, monkey bars, and balance beams for spice.
- Teamwork challenges: Include elements that require pushing, pulling, or encouraging each other—bonus points for silly costumes!
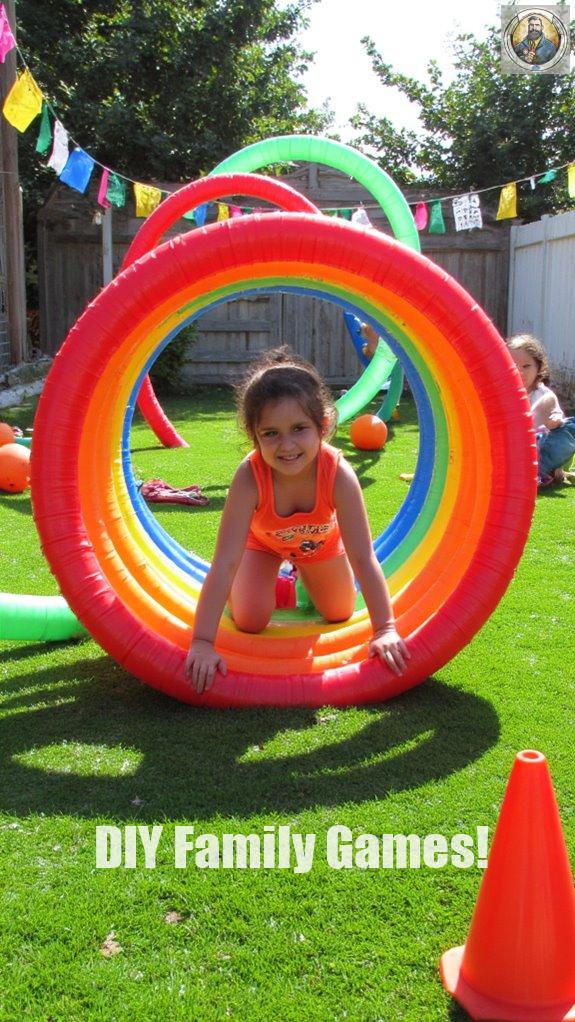
Family-Friendly Obstacle Race
Who doesn’t love a little friendly competition among family members?
Picture this: my kids, Emily and Liam, racing through a wobbly course while I scream “Go faster!” like a deranged cheerleader.
Family bonding through a backyard obstacle race brings giggles and epic fails.
Don’t forget your safety measures – helmets can save you from Uncle Bob’s overenthusiastic encouragement!
Here’s how to create your own memorable race:
- Set up silly challenges.
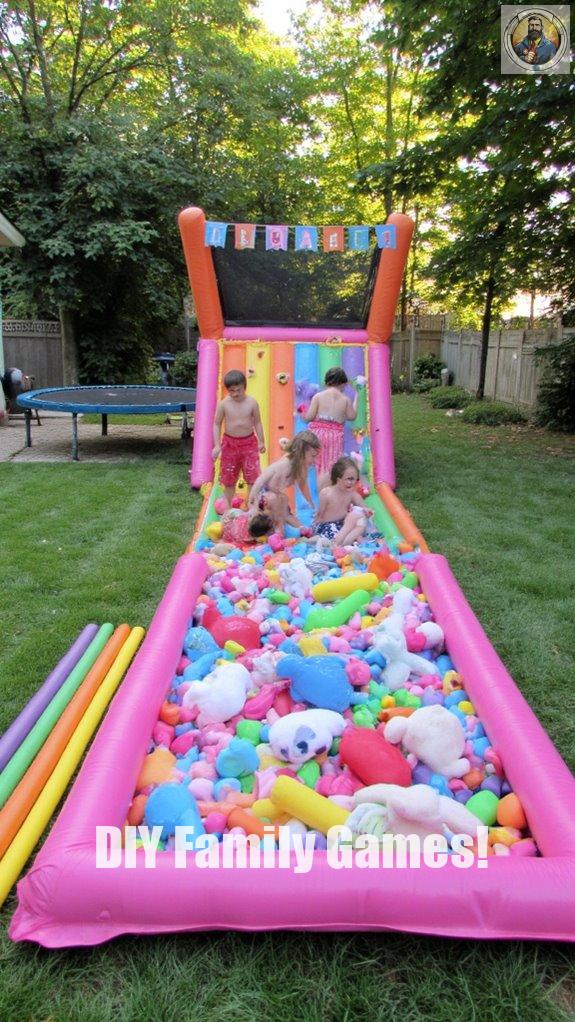
- Build a foam pit (or a pile of pillows).
- Establish the no-shoving rule (trust me, it’s essential).
So, who’s ready to turn family time into hilarious chaos?
Let the race begin!
Best Materials for Backyard Obstacle Course Construction
Here’s what I recommend:
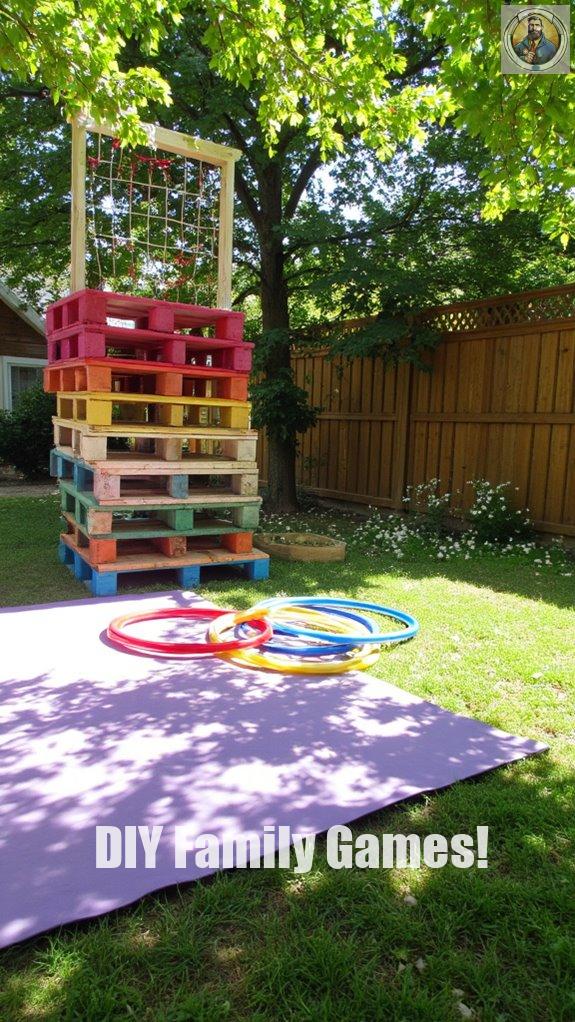
- Wooden Pallets: Perfect for climbing and jumping. Plus, they’re often free!
- Yoga Mats: Great for safety features when you take a tumble—because who doesn’t want a softer landing?
- Hula Hoops: Use them for agility challenges and surprise workouts.
Questions and Answers
What Tools Do I Need for Building an Obstacle Course?
When I built my own obstacle course, I discovered some essential tools.
You don’t wanna jump in without these bad boys:
- A power drill (trust me, you’ll need it)
- Measuring tape (unless you enjoy guessing)
- Hammer (for improvisation and stress relief)
- Level (to keep things from looking like my old shoelaces)
And don’t forget safety equipment!
Safety goggles make you look cool, too.
Who knew construction could be so stylish?
How Much Space Is Required for a Backyard Obstacle Course?
When planning a backyard obstacle course, you’ll need some serious space!
Typically, a good 30×30 foot area gives you room to stretch those ninja legs.
Think about backyard dimensions: the higher the obstacles, the more horizontal space you’ll need, too.
I’ve learned the hard way that cramming it into a tight spot creates chaos—trust me, I’ve seen my kids launch into the neighbor’s yard!
Space planning is key for epic courses.
Have fun!
Can I Build an Obstacle Course on Uneven Terrain?
Can you build an obstacle course on uneven terrain? Absolutely!
It just takes a bit of creativity and some terrain modifications.
You can use:
- Wooden planks for balance beams.
- Sandbags for stability solutions.
- Tarps for slippery fun!
I’ve done it with my kids, and they loved the challenge—until they fell!
Just keep in mind: safety first!
If you can conquer the bumps, so can your kids!
Let’s get building!
How Long Does It Take to Build an Obstacle Course?
Hey there, reader!
So, how long does it take to build an obstacle course? Well, it all depends on your construction timeline and project planning.
If you’ve got a few weekends free, you’re in luck!
Expect:
- Design Phase: 1-2 days
- Material Gathering: 1-3 days
- Construction: 1-2 weeks, depending on complexity.
Just keep snacks handy—trust me, you’ll need them!
And keep in mind, the messier the course, the more fun for the kids.
Happy building!
Are There Any Safety Certifications for Obstacle Course Materials?
Well, let me tell ya, when it comes to safety certifications for obstacle course materials, you’ve gotta get your ducks in a row!
Many manufacturers follow safety standards to guarantee material durability.
Here’s what you should look for:
- ASTM certifications (American Society for Testing and Materials) are key.
- CPSC guidelines for additional safety checks.
Keep safety in mind, and your course will be a hit—without sending anyone to the ER!


