
BEST DIY Engineering Adventures Dads Can Build Together
Epic DIY Adventures for Dads and Kids
DIY engineering projects can be a wild ride. Trust me, I’ve dived into this chaos headfirst.
I’m sharing my adventures on Modern Dads because, well, someone’s got to document the glorious mess we make.
One time, I decided to build a backyard maze with my kids, Emily (9) and Liam (6). Let’s just say it turned into a hilarious game of “who can get lost first.” We used old cardboard boxes—because who needs Pinterest-perfect, right?
And that mini trebuchet made of popsicle sticks? Oh boy, launching marshmallows at the dog was a real high point. My wife Sarah just shook her head while trying to figure out where the marshmallow fluff came from.
These moments? Priceless. They spark creativity and give us memories that’ll last longer than the dog’s interest in the marshmallows.
Now, if you’re up for some chaos, I’ve got more ideas coming your way!
Quick Strategies
- Build a DIY Backyard Maze using fences and rope to engage kids in a fun, interactive experience.
- Create a Mini Trebuchet with simple materials, teaching kids about mechanical engineering through hands-on experimentation.
- Experiment with Bouncing Bubbles by mixing soap and sugar, exploring different surfaces for unique bubble effects.
- Craft a Coffee Can Camera to introduce kids to pinhole photography, blending art and science in an engaging way.
- Conduct the Mentos and Soda eruption experiment outdoors, demonstrating nucleation while capturing fun data on eruption heights.
DIY Backyard Maze
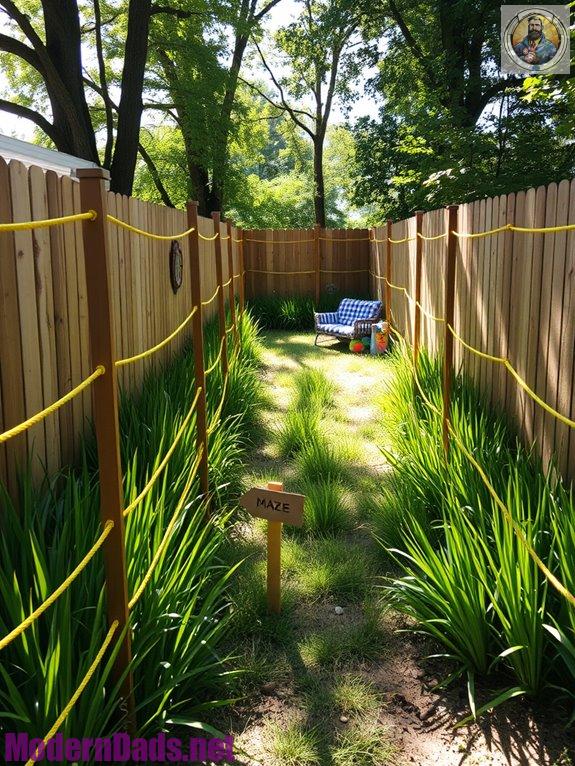
When I first envisioned building a DIY backyard maze, I wasn’t sure if it would be an epic win or a total flop.
But I jumped in!
To create an engaging maze layout, I used privacy fences and nylon rope for walls, ensuring a 36-inch width for accessibility. Engaging crafting activities can help foster creativity and problem-solving skills in children.
For obstacle design, I added fun twists and turns to keep everyone guessing. The maze was created for the third annual Family Fun Fair organized by the church, which inspired me to ensure it was both entertaining and challenging for all ages.
Mapping the maze path beforehand helped me avoid chaos.
Trust me, a little humor goes a long way!
Just visualize your kids laughing as they navigate the twists—priceless memories!
Bouncing Bubbles
Have you ever wondered if bubbles could really bounce?
Well, they can!
To create bouncing bubbles, mix sugar, water, and dish soap for a fantastic bubble solution. I recommend using distilled water to boost bubble strength. Trust me, adding glycerin makes a huge difference! Glycerin helps retain moisture in the bubble solution, making the bubbles last longer.
Now, use a straw or eyedropper, and gently blow bubbles, catching them with soft gloves. Different methods exist to create bouncing bubbles, so feel free to explore various techniques!
Experiment on different surfaces—each texture offers unique bounces!
Remember, surface tension keeps those bubbles intact.
So, grab your ingredients, and let’s make some magic!
Who knew bubbles could be such a blast? I can’t wait to see you all bouncing!
Mini Trebuchet
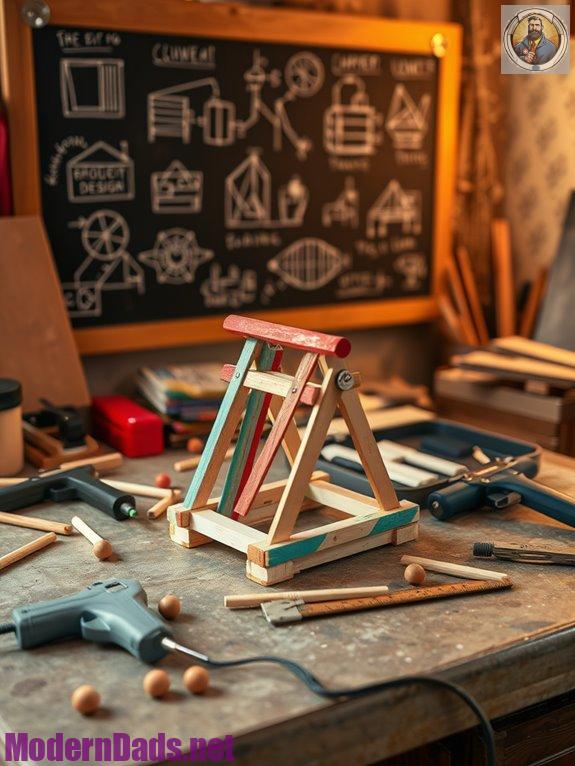
Building a mini trebuchet is like releasing your inner medieval engineer, and trust me, it’s a total blast! Not only do you get to flex your creativity, but you also immerse yourself in some cool mini trebuchet mechanics. A trebuchet can launch objects weighing up to 350 pounds using the right design and counterweight. This project also introduces fundamental principles of mechanical engineering, making it a perfect learning experience.
Here’s how to get started:
- Choose sturdy materials: wood or popsicle sticks work great!
- Set a strong pivot point for smooth arm rotation.
- Optimize your launch angle for maximum distance.
- Test and tweak—trial and error is your friend!
You’ll not only have fun but also create memories with your kids like Emily and Liam.
Coffee Can Camera
Who knew a simple coffee can could turn into a magical portal for creativity and science?
Making a coffee can camera is a fun plunge into pinhole photography! First, clean and sand the can where the pinhole will go. Then, grab a needle and create a tiny hole, about 0.2mm wide. Don’t forget light sealing! Use electrical tape to secure the lid and prevent any sneaky light. It’s like creating your personal darkroom! Solargraphy captures the sun’s movement through long exposure photography, allowing you to experiment with different exposure times and watch creativity unfold. This project can also enhance STEM learning as it combines art and science in a hands-on way. Trust me, this project can spark imaginations—just like it did for me and my kids, Emily and Liam. Let’s get snapping!
Mentos and Soda
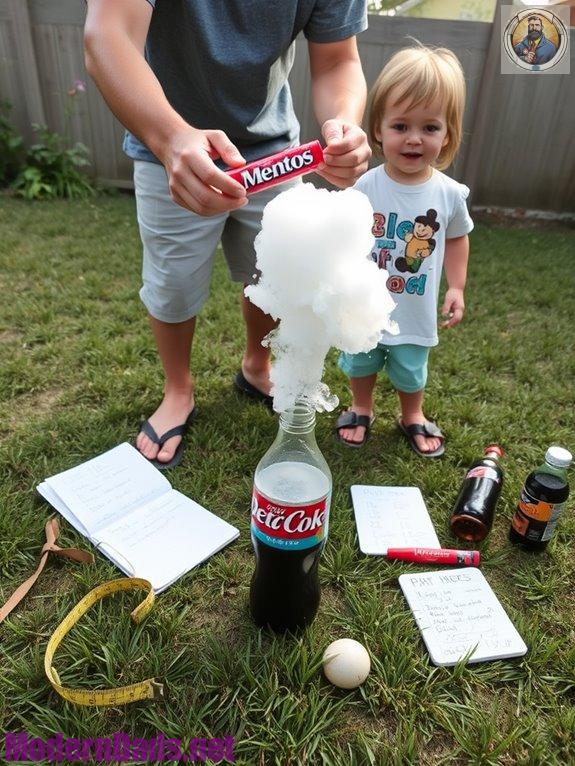
After capturing magical moments with a coffee can camera, let’s shift gears to another fun experiment that’ll leave you and your kids buzzing with excitement.
The Mentos reaction with soda creates an epic soda eruption that’s sure to thrill! Nucleation is the key reason why this combination produces such spectacular geysers.
Here’s how to get started:
- Gather your materials: Mentos, carbonated soda, and a flat outdoor surface.
- Choose your soda wisely; Diet Coke is a fan favorite for eruptions.
- Be safe—no indoor experiments unless you love cleaning!
- Measure the eruption height for some fun science data!
Get ready for a bubbly adventure that’ll have you and your kids laughing!
Paper Airplane Launcher
Creating a paper airplane launcher is like releasing a mini rocket launch right in your backyard! Grab some cardstock, rubber bands, and a few paper clips. You can whip up some simple launcher designs that’ll have your paper airplanes soaring. Try the V-shaped launcher—just fold your cardstock and attach a rubber band. Or, use a paper clip to connect your plane to a stretched rubber band between your fingers. It’s a blast! Plus, you’ll learn about aerodynamics while having fun with your kids. This activity encourages exploration of physics concepts like potential and kinetic energy.
Creative Bridge-Building Challenges
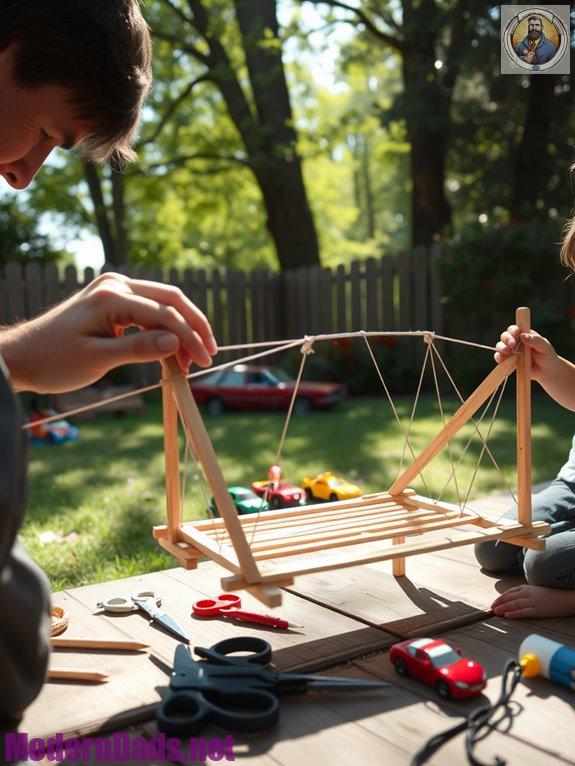
When you think about engineering, you might picture massive skyscrapers or complex machines, but let me tell you, building a bridge out of everyday materials can be just as thrilling—and often, way more fun!
Here’s a quick list to get you started on your creative bridge-building challenges:
- Popsicle Stick Bridges: Test your bridge design with hot glue and sticks. Teams must adhere to specific design constraints to enhance the challenge.
- Straw Bridges: Use straws and string for a lightweight option.
- Cardboard Suspension Bridges: Perfect for practicing tension management.
- Building Brick Bridges: LEGO, anyone?
Get ready to explore material selection and watch those engineering skills soar!
Shared Learning Experiences
Shared learning experiences not only create lasting memories but also build essential skills that our kids will carry with them for life.
Think about it: when we plunge into shared projects, we’re not just crafting; we’re igniting family creativity.
Building a remote caddy or a mini trebuchet? That’s teamwork in action!
We laugh, we problem-solve, and we grow together.
Plus, we get to witness those “Aha!” moments when they finally grasp a concept.
So, why not grab some supplies and start a project today?
Trust me, those little moments? They’ll be cherished forever.
Moreover, engaging in activities like building a jewellery box can add a personal touch to your shared experiences.
Let’s make memories—one DIY adventure at a time!
References
- https://kidsactivitiesblog.com/71646/dad-approved-projects/
- https://www.amstat.org/asa/files/pdfs/GAISE/GaiseCollege_Full.pdf
- https://www.sciencebuddies.org/blog/fathers-day-science-activities
- https://mhs.milfordk12.org/ourpages/auto/2020/1/15/12784324316041332238/294751235.pdf
- https://www.youtube.com/playlist?list=PLCPhIVHyKkmL6AlfIx0x8bQVuI_pvuON9
- https://www.youtube.com/watch?v=CEbPMOA0QMc
- https://www.sweetstudy.com/files/awritersreference.pdf
- https://www.ourcurioushome.net/2012/08/18/making-a-maze-from-caution-tape-guest-post-by-dan-dh/
- https://sowersohs.wordpress.com/wp-content/uploads/2016/08/bedford-handbook-9.pdf
- https://thenevermoor.wordpress.com/2017/11/01/how-to-build-modular-maze-panels/


