
What DIY Obstacle Course Will Spark Kids’ Adventure?
Creating Epic Memories: My DIY Obstacle Course Adventure
I recently turned my backyard into an adventure zone for my kids. They call me “Dad the Great,” and let me tell you, I take that title seriously!
I write here at Modern Dads to share my experiences, like how I set a start and finish line with bright tape. I crafted crawl tunnels from lawn chairs—who knew those things could be so useful? I even made a silly laser maze with yarn.
Safety first, right? So, I double-checked everything before our mini-warrior challenge began. Trust me; it was a blast, and no one ended up in the emergency room!
One sunny Saturday, I watched my kids race through the course. They giggled and cheered each other on, turning simple obstacles into epic challenges. The best moment was when one of them slipped on a homemade mud pit I didn’t think was that slippery. We laughed so hard my sides ached while they thought it was a ninja strategy! These little memories are gold in this dad game, and it reminds me how fun it is to let them unleash their wild side.
Quick Takeaways
- Design a colorful obstacle course using household items like chairs and pool noodles to create balance beams and crawling tunnels.
- Integrate a “laser maze” with yarn and set up various challenges like carrying pumpkins for added fun and difficulty.
- Adjust obstacles for age groups: use soft tunnels for toddlers, low beams for preschoolers, and challenging climbs for older kids.
- Ensure safety with adult supervision, inspect the course regularly, and keep a first aid kit accessible during playtime.
- Foster engagement through timed runs, team challenges, and themed courses, rewarding completion to encourage participation and creativity.
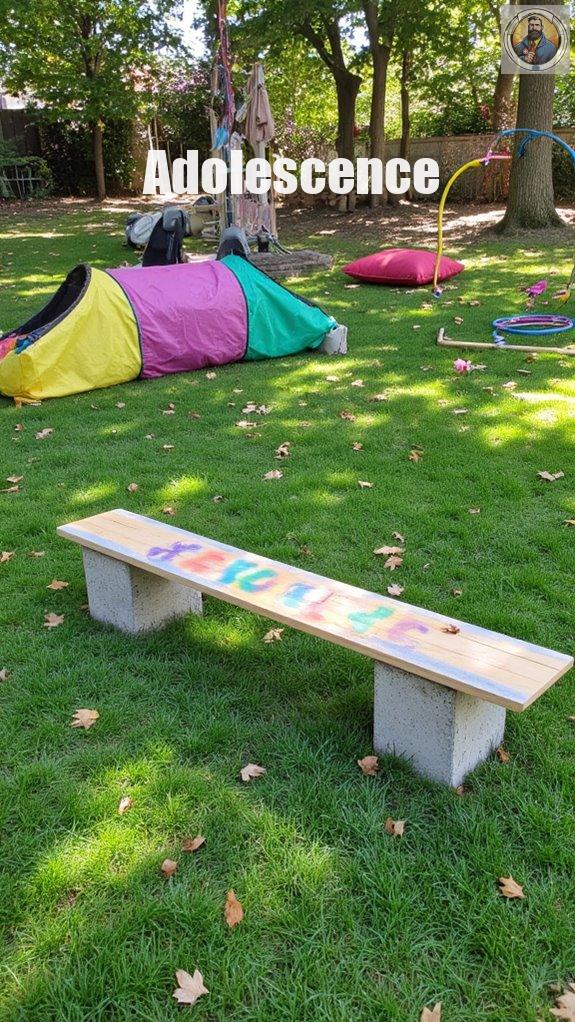
Establishing Start and Finish Lines
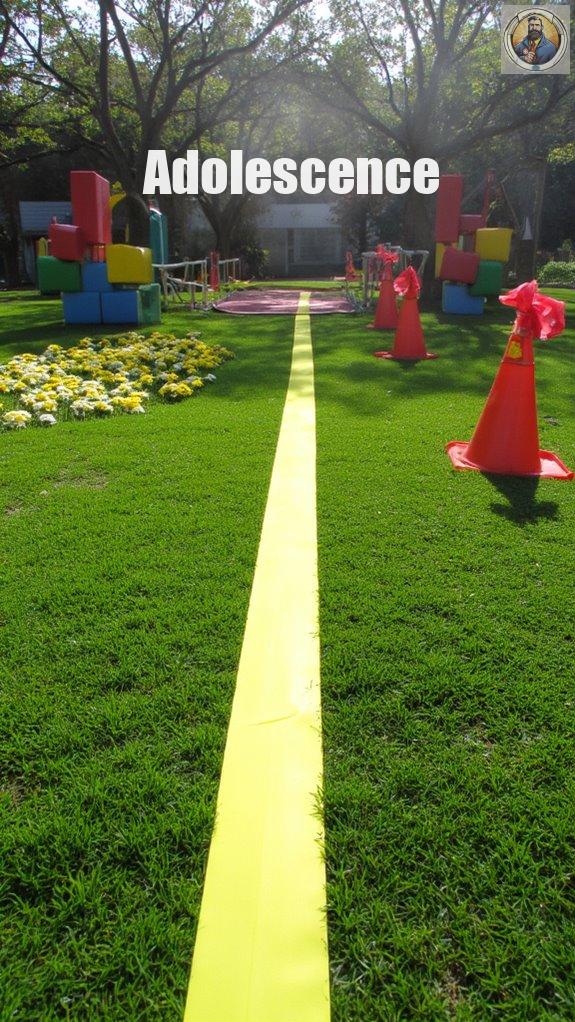
When you’re all set to kick off an exciting DIY obstacle course, the first thing to tackle is establishing some clear start and finish lines. These lines set the stage for epic adventures! Use colorful tape or ribbons—kids love the vibrant visuals! Here’s how:
- Mark your start line in a flat area.
- Confirm the finish line is unobstructed and visible from the last obstacle.
- Keep spacing age-appropriate; too close and you’ll have chaos! Additionally, having clear start and finish lines encourages physical activity as children will eagerly run between them. Establishing these lines can also enhance motor skills development, which is essential for children’s overall coordination.
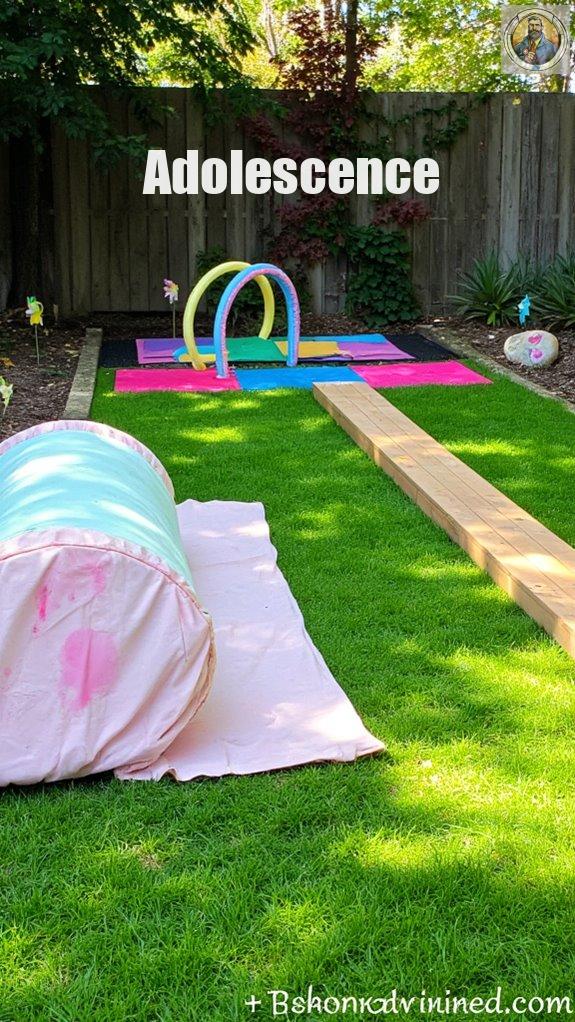
Designing Creative Obstacles

Designing creative obstacles is where the real magic happens in your DIY obstacle course! It’s all about using a mix of household items and recycling them for obstacle variety.
Who knew pool noodles could become balance beams or tunnels?
Here are some ideas to spark your imagination:
- Use lawn chairs as crawl tunnels or hurdles.
- Create a “laser maze” with yarn strung between objects.
- Build a balance beam from a straightened pool noodle.
Let your creativity shine! Recall, the goal is to keep kids active and engaged while having a blast. Engaging in fun home sports activities can also enhance family bonding while promoting teamwork.
What adventures will your course hold?
Incorporating Natural Terrain
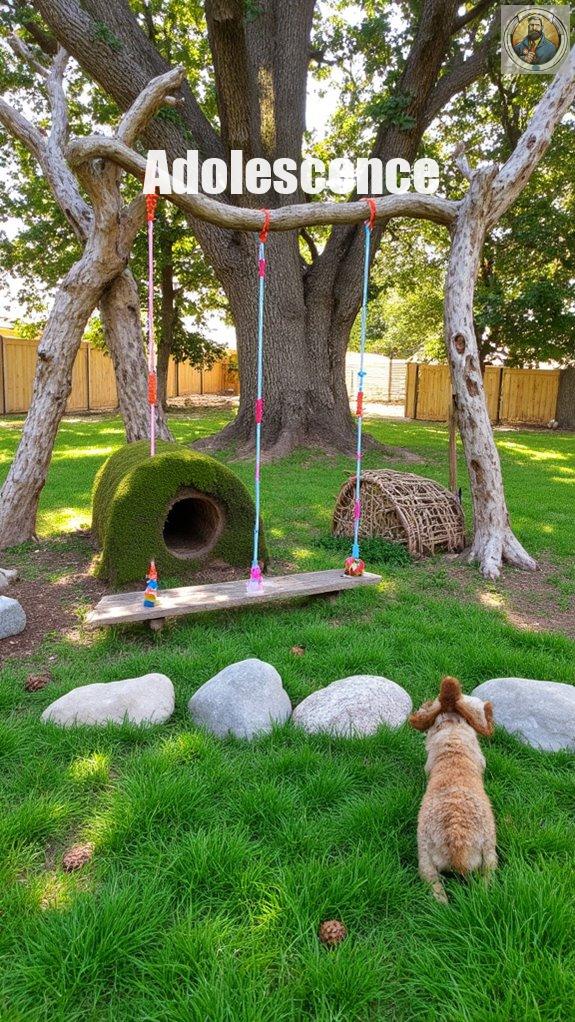
Incorporating natural terrain into your DIY obstacle course can be an absolute game changer!
Think about using trees, stumps, and rocks as fantastic natural features. They add variety and real adventure!
- Balance on logs to boost core strength.
- Jump between stones for agility.
- Crawl under low branches for sensory experiences.
Not to mention, climbing slopes can turn a simple course into an epic challenge.
Ever tried swinging from a tree branch? Talk about fun!
Using nature not only keeps kids active but also sparks their curiosity. Plus, incorporating fun family ball games can further enhance their outdoor experience by promoting teamwork and friendly competition.
Ensuring Safety and Engagement
After making the most of those natural features in your DIY obstacle course, it’s time to think about keeping the fun safe and engaging.
Trust me, ensuring safety is as important as the thrills. You don’t want to turn into your kids’ alarm system!
Here are some must-do’s:
- Always have adult supervision around. Seriously, it’s non-negotiable.
- Remove hazards like sharp objects and clutter. Nobody wants a trip to the ER!
- Give clear instructions at each station. Confusion leads to chaos!
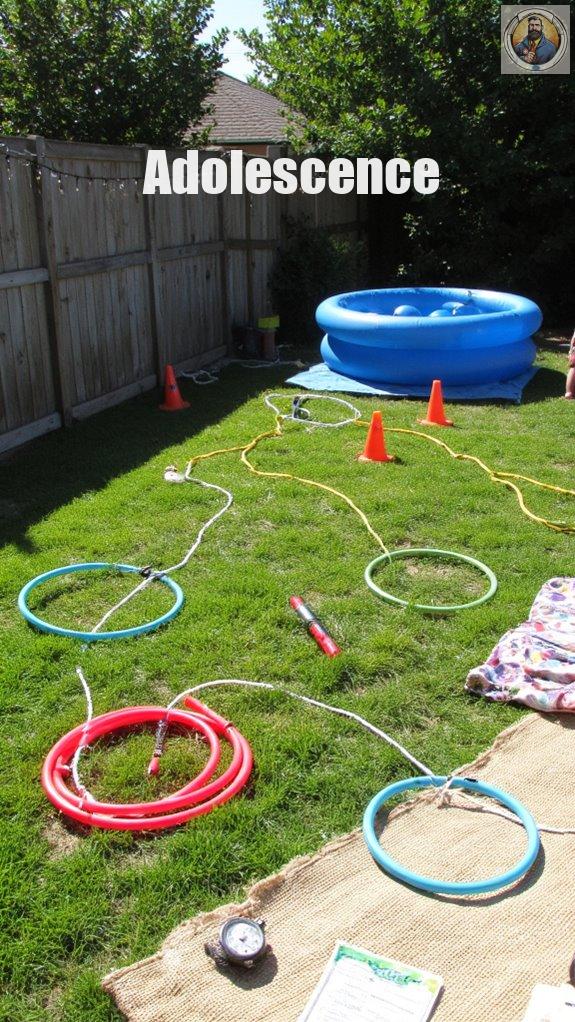
Using Budget-Friendly Materials
When it comes to building a fun and exciting obstacle course, you don’t have to break the bank to create a playground in your backyard!
Dive into budget materials, like pool noodles and old tires, to set up playful challenges.
Use laundry baskets for crawl tunnels and chairs for under-climbs.
The local dollar store is a gold mine—pick up cones, tape, and cheap toys!
Remember, creativity thrives on a budget!
Mix those household items to spark imagination while avoiding a major hole in your wallet.
Who knew DIY could feel so freeing, right? Let’s get started!
Encouraging Various Movement Types

Creating a thrilling obstacle course isn’t just a fun weekend project; it’s a fantastic way to get kids moving and to encourage various types of movement that are essential for their development!
By incorporating exciting elements, they’ll engage in:
- Animal movements like crab walks for core strength.
- Balance challenges on narrow paths to enhance spatial awareness.
- Teamwork activities that spark creative play.
With this course, kids can jump into the freedom of motion, develop their gross motor skills, and boost sensory integration all while having a blast!
Let the adventures begin! Are you ready to join the fun?
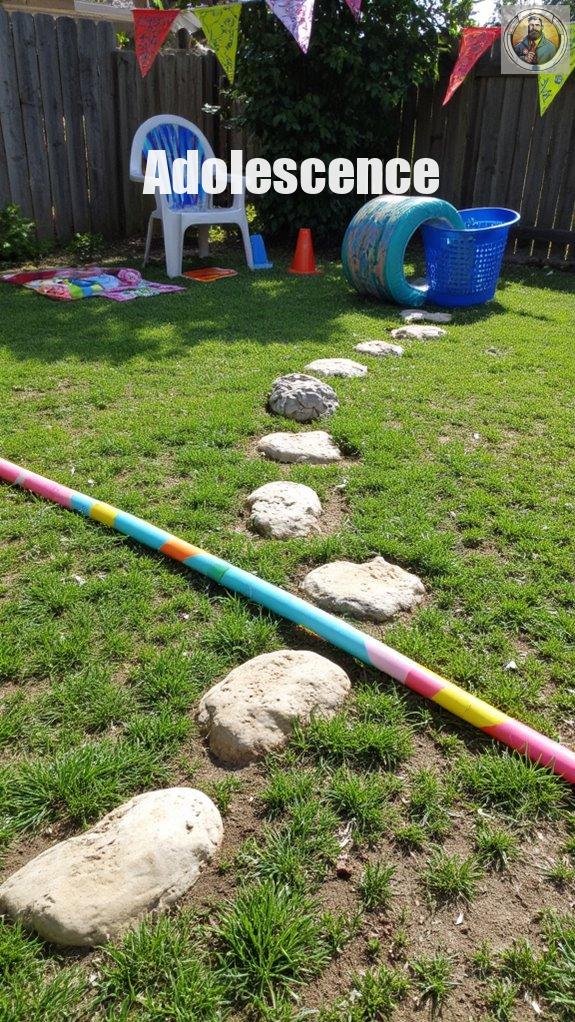
Progression and Arrangement Techniques
Crafting an exciting obstacle course isn’t just about tossing together some random gear; it’s about how you arrange those elements to keep the fun thriving and the challenges real.
Start simple with 2-3 obstacles to not overwhelm young adventurers.
Gradually increase difficulty for skill progression by introducing obstacle variety—think balance beams, crawls, and jumps.
Make sure to take into account safety—soft landings and adjustable components keep everyone playing safely.
Keep it flexible, adapt easily to focus on different skills or even switch up layouts.
And keep in mind, use cognitive strategies like visual cues to help kids recall their challenge sequences.
It’ll keep them engaged and flowing through the course!
Making It Fun and Competitive
Who wouldn’t want to turn playtime into an exhilarating competition?
Incorporating some fun elements can spark excitement and camaraderie among kids.
Here’s how to make it special:
- Timed challenges encourage thrilling races and skill improvements.
- Scoring systems add excitement beyond just speed, rewarding style and creativity.
- Teamwork tasks foster social interaction and build friendships while tackling obstacles.
Why not create head-to-head races or relay challenges? They keep the competition buzzing!
Recall, it’s fantastic to celebrate personal bests and teamwork over simply winning.
Let the adventure begin! It’s all about fun and making memories together.
Adapting for Different Age Groups
When you’re setting up an obstacle course, you’re not just building a bunch of random challenges; you’re actually crafting a thrilling experience tailored for kids of all ages!
Here’s a quick guide to adapt for different age groups:
| Age Group | Obstacles | Skill Level Adjustments |
|---|---|---|
| Toddlers | Soft tunnels, low beams | Crawling, simple stepping |
| Preschoolers | Balance beams, jump-over hurdles | Low heights, fewer activities |
| Age 7+ | Wall climbs, agility ladders | Increased challenges, more variety |
With these age-specific adaptations, everyone gets to explore their limits safely. How cool is that?
DIY Obstacle Course Design Techniques

Designing a killer DIY obstacle course can be a total game-changer for your backyard fun!
It’s all about embracing those creative flows and adding sensory elements to keep the adventure alive.
Here are a few tips to get you started:
- Set a clear path with markers to avoid chaos (trust me, kids move fast!).
- Use recycled materials like pool noodles and cardboard—super easy and budget-friendly!
- Incorporate varied obstacles that challenge different skills—jump, crawl, balance, you name it!
With these techniques, you’ll not only create an exhilarating course but also a space for your kids to thrive!
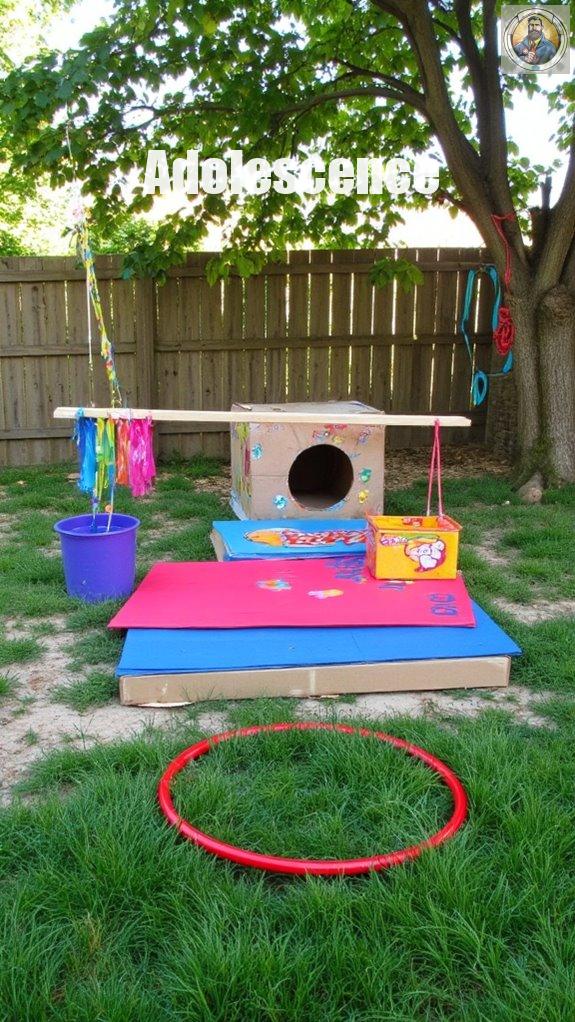
How to Build Backyard Obstacle Course for Kids
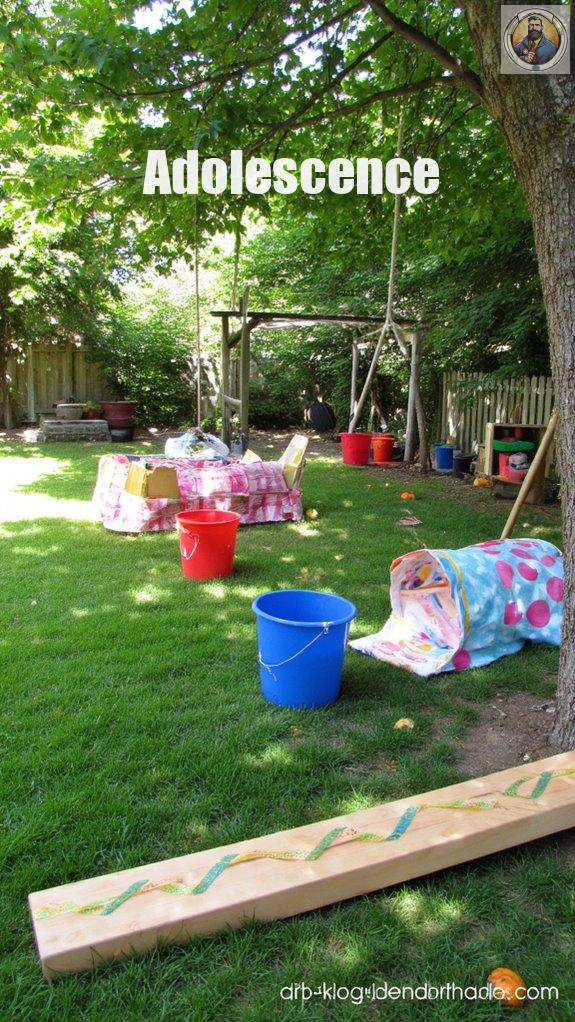
Building a backyard obstacle course for your kids isn’t just about creating a play area; it’s about crafting a full-on adventure zone right at home!
Start with everyday items like buckets, ropes, and tires.
Think obstacle creativity!
Try adding crawling tunnels made from blankets or cardboard boxes. For balance, set up planks or beams—don’t forget that anti-slip tape!
Make it seriously fun with challenge variations, like carrying pumpkins or jumping over hurdles.
Remember, stability is key!
Anchor everything securely and supervise playtime.
Trust me, your kids will love the challenge, and you’ll score some serious parenting points!
References
- https://handsonaswegrow.com/obstacle-course-kids-fort-magic/
- https://missiongrit.com/post/backyard-diy-kids-obstacle-course-ideas
- https://www.youtube.com/watch?v=5328T_jtyNc
- https://www.youtube.com/watch?v=-lac-IhiiM8
- https://www.youtube.com/watch?v=P0nR8Xo1BGA
- https://www.youtube.com/watch?v=DLI0S_rZUdI
- https://activeforlife.com/diy-obstacle-course/
- https://www.primary.com/blogs/using-our-words/diy-kids-outdoor-backyard-obstacle-course
- https://blog.lovevery.com/child-development/obstacle-course/
- https://www.weareteachers.com/diy-obstacle-courses-for-kids/


